

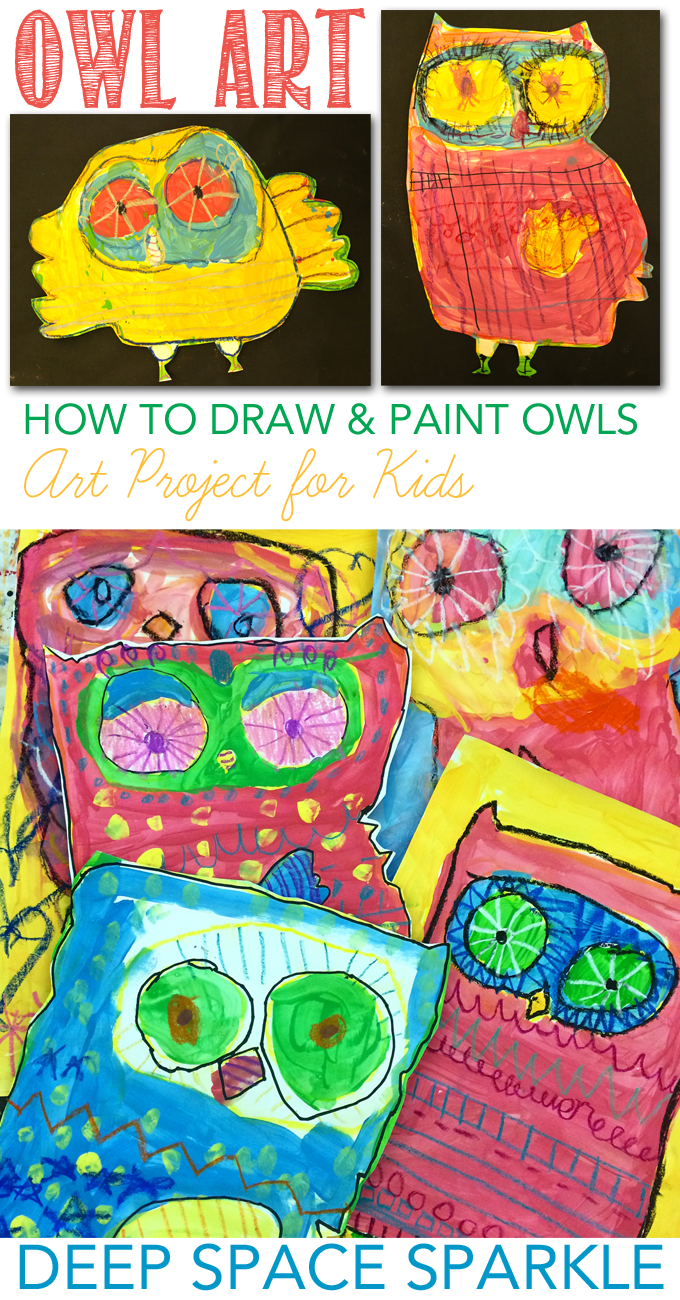
How To Draw Owls Deep Space Sparkle
I've been playing around with this painted owl art lesson for a while now. I created this costless owl drawing guide and have been taking advantage of it. My third graders used the handout to create a marker and watercolor painting merely for my Kinders, I wanted to keep the choices to a minimum.
I decided to use yellow chalk to draw the owl (keep on reading to larn why this isn't the best choice) and pre-mixed liquid tempera pigment. I love to mix my paint colors before the students get in. This is especially helpful for younger students as they are all the same learning how to paint smoothly. Adding a lesson on colour-mixing is just a fleck too premature for most of my students.
I selected ii uncomplicated variations of the owl and simplified the drawing even more by using minor condiment cups for getting the cartoon started.
This is what nosotros did for our painted owl art:
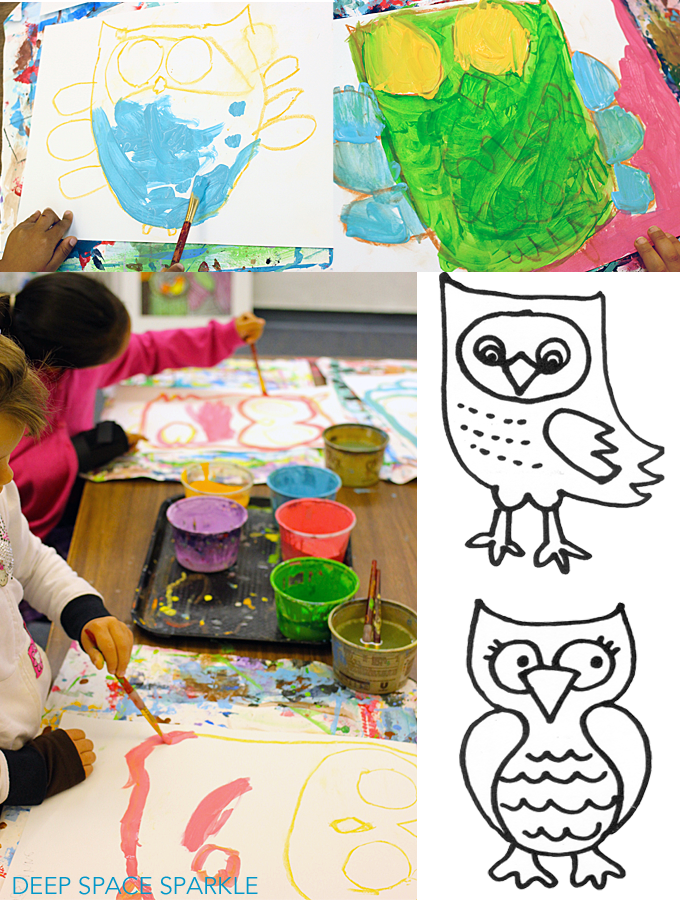
Every educatee received a piece of yellow colored chalk, a sheet of 12″ ten 18″ white sulphite paper, a placemat and access to paints and brushes/water.
The students sat on the flooring as I demonstrated the process for drawing 2 styles of painted owl art: one with open wings and the other with closed wings. The open up fly owl needs a wide slice of newspaper (place paper sideways on table) and the no-wing owl needed a tall paper.
Using a small condiment loving cup, trace two circles near the superlative of the paper for the eyes. For the nose, describe a rhombus (co-ordinate to the kids, they aren't called diamonds) between the two eyes. If they wanted to, they could draw a "mask" effectually the eyes. I evidence them how to depict a line close to, but not touching, the eyes and olfactory organ.
Place chalk to a higher place mask and draw a direct horizontal line. Add ears. Side by side, draw a long letter "U". This is the body. The tall owl shows a few back tail feathers. I showed the kids how to add these if they wanted to. Draw a wing in the middle– like a pocket.
The open winged owl has large wings. Draw (or trace fingers) fly shapes on both sides of the owl body. Nosotros added two small bumps where the legs will exist but we didn't draw legs yet. That comes after nosotros pigment.
After I demonstrated how to draw the owls, the kids went back to their tables. Many kids jumped alee and drew whichever owl they liked best. Most half the class needed guided instruction. We completed the owls together and in one case the children seemed to know what they were doing, I set up out the paints.
Painting the Owls
If the paints are not already on the table, put them on now. I only offered four paint colors. Reducing paint option not only prevents muddy colors but helps move the project along.
I asked the kids to paint the body first using any color they wished. They had to select a different color for the wings. They painted the remaining owl shapes with any color combo they wished.
That's it for Day I. If the kids don't paint the background, no worries. I fixed that past cutting out the owl and gluing to black paper.
Outlining and Adding Patterns
This is an interesting step. I placed Sharpies on the tables with the intention of having the kids trace over their original chalk lines to make the colors popular. The theory is sound but the execution wasn't quite there.
Problem #1: Using xanthous chalk was a horrible thought. Kids are messy painters merely Kinder kids are the messiest painters ever. Past the time the paint stale, the xanthous lines were barely visible. Pretty hard to trace over lines you lot tin't see. I should have stuck with my tried-and-truthful method of using black oil pastel for drawing. Bad Patty.
Problem #ii : Using Sharpies to trace lines. A few tried merely basically turned the art project into free pick time. Lots of scribbles and random shapes. A few kids got the hang of it, only near were struggling. So I plucked the markers from the table and encouraged the kids to apply the crayons and oil pastels that were already provided for shapes and patterns.
The oil pastel and crayons worked then well.
Lesson Learned: Xiii years of teaching art means that I've tested quite a few techniques. Using drawing tools with fat ends are easier for 5 and 6 twelvemonth old kids. Less scribbling and bigger shapes equal an easier and more successful time with art-making.
Finally, later all the decorating is done, add some legs (if yous tin fit them in!).
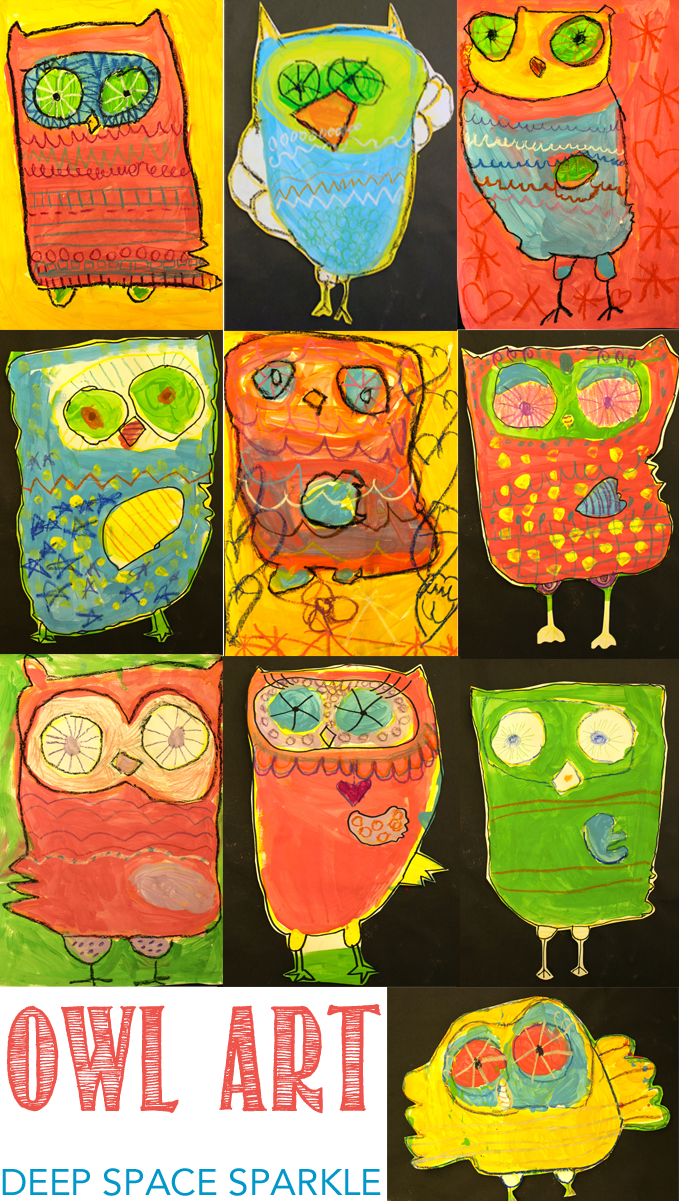
Aren't these owls the cutest thing ever? I don't mean to keep saying cute over and over because it's not virtually how cute they are. It'due south really about how cute the kids are creating them. What a joy it is to encounter them try and so hard and exist and so proud.
DOWNLOAD THIS PAINTED OWL ART LESSON PLAN AND DRAWING GUIDE:
Pivot me!
Similar this post? Go ahead and share the painted owl fine art lesson. Here's an easy image to pivot….
ARE Yous A SPARKLER? Over 300 art lessons are bachelor inside the Members Club. Admission to videos, resources & trainings for one low monthly fee.
CLICK THE Epitome TO SIGN UP FOR NOTIFICATION OF OUR Side by side ENROLLMENT


Source: https://www.deepspacesparkle.com/colorful-painted-owl-art-project/
Posted by: cainwhiseve.blogspot.com
0 Response to "How To Draw Owls Deep Space Sparkle"
Post a Comment